How to Use Embedding Options for Forms: Triggers, Layouts, and Deactivation Settings Explained
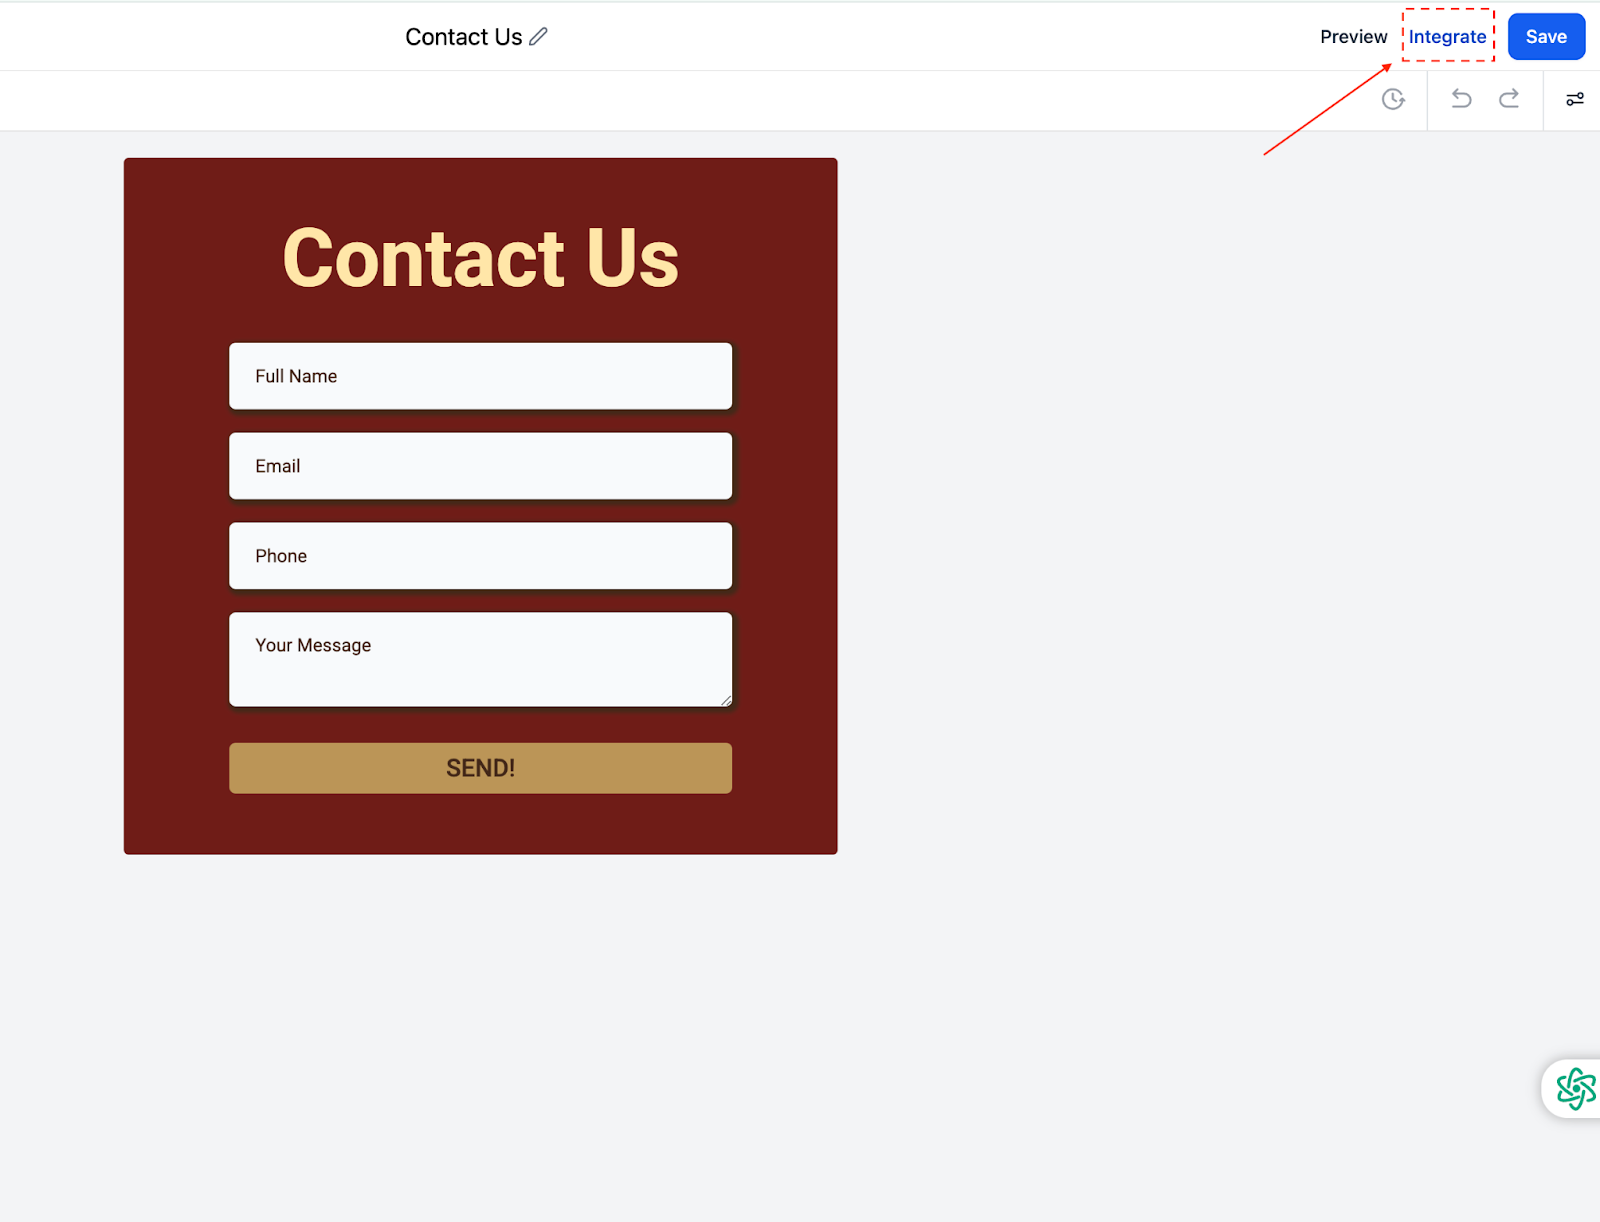
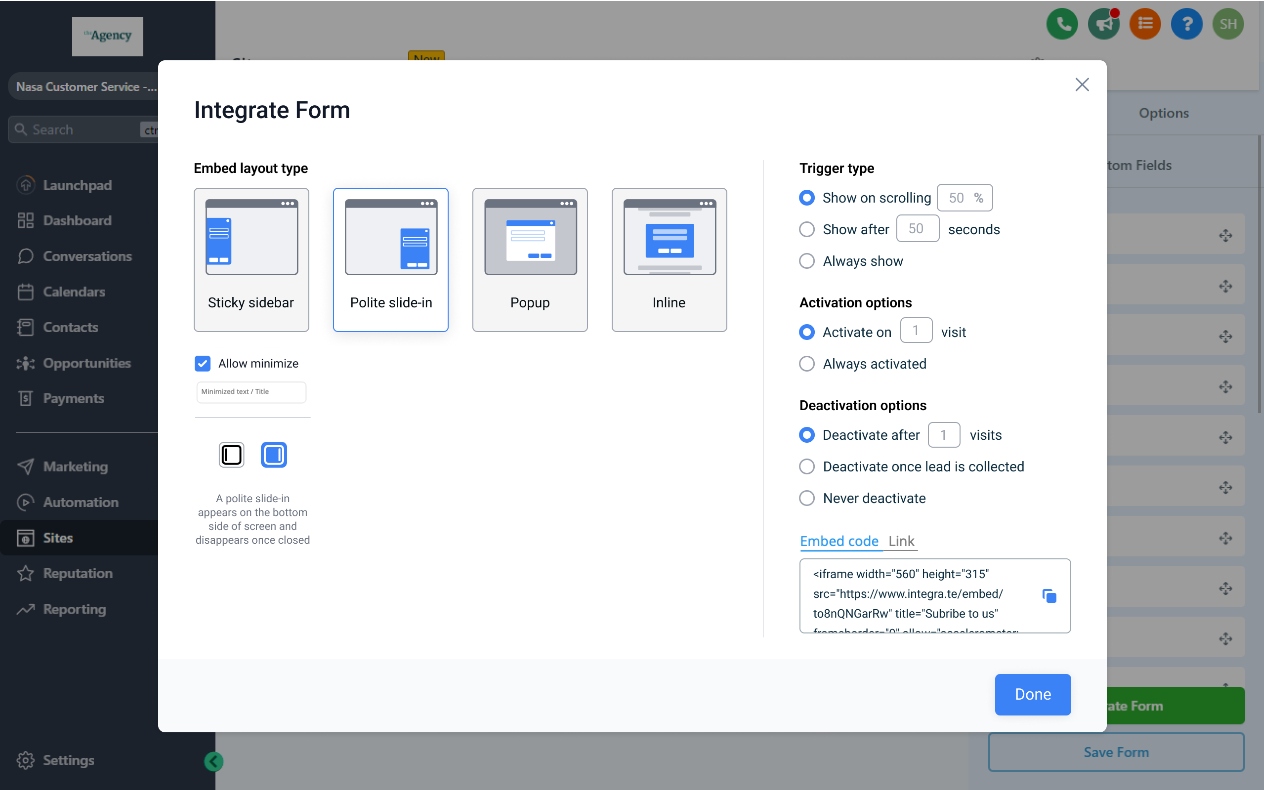
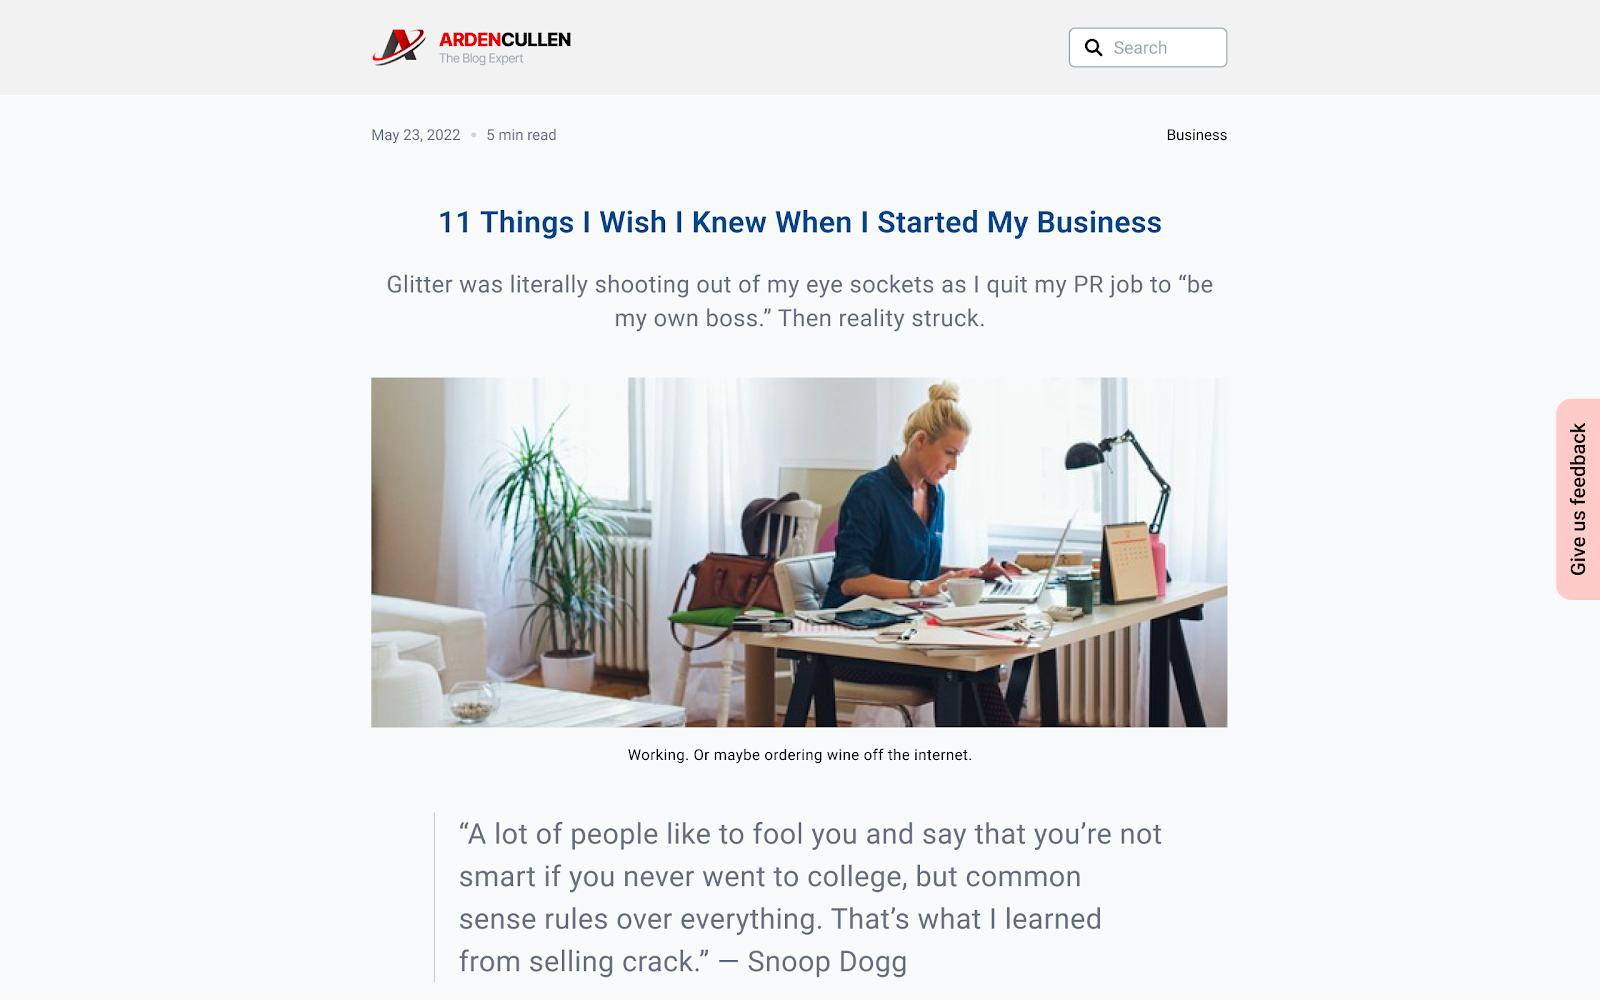
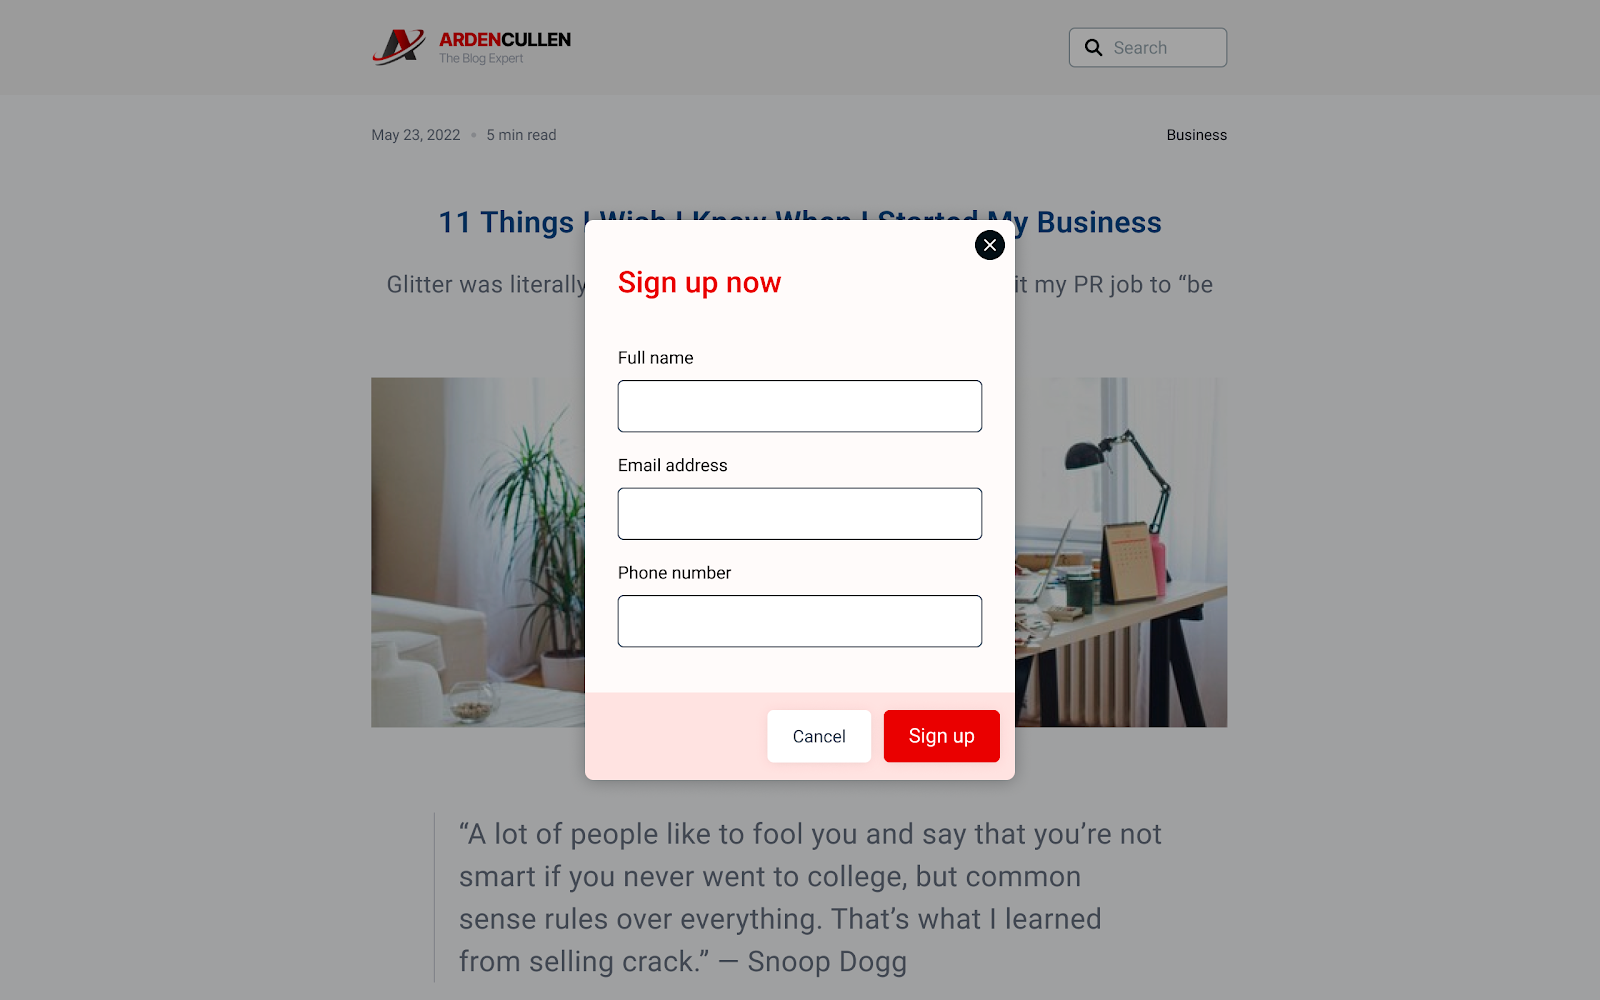
Step By Step Guide ### Step 1: Access the Integration Settings Navigate to the Form Integration Settings - After creating a form and clicks on the “integrate” button!(https://assets.patientcopilot.ai/678d0ef7ede5c16e.png) The following screen shows up -!(https://assets.patientcopilot.ai/24216ca4ca3ef50b.png) Here’s a step-by-step guide on how to use the entire feature shown in the screenshot, including all embed layout types, activation options, and deactivation options: ### Step 2: Choose an Embed Layout Type You can select how the form will appear on your website or funnel. The options include: - Sticky Sidebar - The form appears as a sticky element on the left or right of the screen, remaining visible as the user scrolls. This can be minimized or maximized as needed. Maximized!(https://assets.patientcopilot.ai/fd448d01a783c0d5.png) Minimized!(https://assets.patientcopilot.ai/38bd314713d8b3be.png) - Polite Slide-In: The form slides in from the left or right side of the screen, subtly catching the user’s attention. It can also be minimized to avoid disruption. Maximized:!(https://assets.patientcopilot.ai/041d9adbb4550d23.png) Minimized:!(https://assets.patientcopilot.ai/36d338ae9eca664b.png) - Popup - The form appears in a modal window that overlays the page content. It grabs immediate attention but requires dismissal to view the underlying content. ##!(https://assets.patientcopilot.ai/35fa1b4df99c9a34.png) - Inline: The form is embedded directly into the page content as a native element. It doesn’t interrupt the user experience.!(https://assets.patientcopilot.ai/0820ca5225eb0b09.png) ### Step 3: Configure Trigger Options Trigger options control when the form appears. Select one of the following: - Show on Scrolling [X]% → The form appears after the user scrolls a certain percentage of the page (e.g., 50%). - Show After [X] Seconds → The form appears after a delay (e.g., 5 seconds). - Always Show → The form is always visible and does not rely on user interaction. ### Step 4: Set Activation Options Define when the form should become active: - Activate on [X] Visit → The form is displayed only after the user has visited the page a set number of times (e.g., on their third visit). - Always Activated → The form remains active at all times. ### Step 5: Set Deactivation Options Decide when the form should stop being displayed: - Deactivate After Showing [X] Times → Stops displaying the form after it has been shown a specific number of times (e.g., 3 times). - Deactivate Once Lead Is Collected → The form deactivates automatically once the user submits their information. - Never Deactivate → The form remains active and visible indefinitely. ### Step 6: Copy and Embed the Form 1. Click “Copy Embed Code” to get the HTML code for embedding the form into your website. - Paste this code into your website’s HTML wherever you want the form to appear. 2. Alternatively, click “Copy Form Link” to get a direct URL for the form. - Use this link in emails, social media, or other platforms where you want users to access the form. ## FAQs 1. How do triggers and deactivation options work together? Triggers determine when the form appears (e.g., after a delay or scrolling). Deactivation Options control when the form stops appearing (e.g., after a specific number of displays or after a lead is collected). Both can work simultaneously to create a dynamic user experience. 2. Do I need to update existing embed codes for the new features to work? Yes, to use the new embed options (e.g., triggers, deactivation), you need to update the integration by generating a new embed code from the “Integrate Form” section and replacing the old code on your site. 3. Can embedded forms work dynamically if I change my options? Embed codes are static once they are placed on a website. This means that any changes made to the form require generating and replacing the embed code with the updated version for the changes to take effect.